
The Truth About Manual Mode (And When Auto Actually Works)
Understanding your camera doesn’t have to be confusing.
Let’s be honest—cameras can feel a little like spaceships when you’re first starting out. All those buttons, dials, and mysterious symbols… it’s no wonder so many of us start off glued to Auto mode. And honestly? That’s totally fine. Auto has its place, especially when you're first starting out. But if you’ve ever snapped a photo and thought, “Why does this not look how I saw it?”—it might be time to dip your toes into Manual mode. In the next 5 minutes I will walk you through the pros and cons of Auto and Manual, when to use each, and how to start building confidence to take control of your settings (without overwhelm).
What Is Auto Mode?
Auto Mode (sometimes marked as a green square on your camera) is the photography equivalent of cruise control. The camera makes all the decisions for you—shutter speed, aperture, ISO, white balance, the works. Auto mode is similar to shooting with your smartphone, because your phone's camera is essentially set to auto mode, too.
✔️ When Auto Mode is Great:
You’re capturing quick, everyday moments (think kids playing or spontaneous outings, and you don't want to just use your phone's camera)
You’re in a rush and don’t have time to adjust settings
You’re brand new and just getting comfortable holding and using your camera
The lighting is consistent and not too tricky
❌ Where Auto Mode Can Fall Short:
You get a photo that’s too dark or too bright, and you’re not sure how to fix it
Your subject isn’t in focus the way you’d like
The flash pops up unexpectedly (ugh)
Your camera doesn’t “read” creative lighting well, like backlight or shadows
In short, Auto mode is like having a smart assistant—it can get the job done, but it doesn’t always know your vision.
What Is Manual Mode?
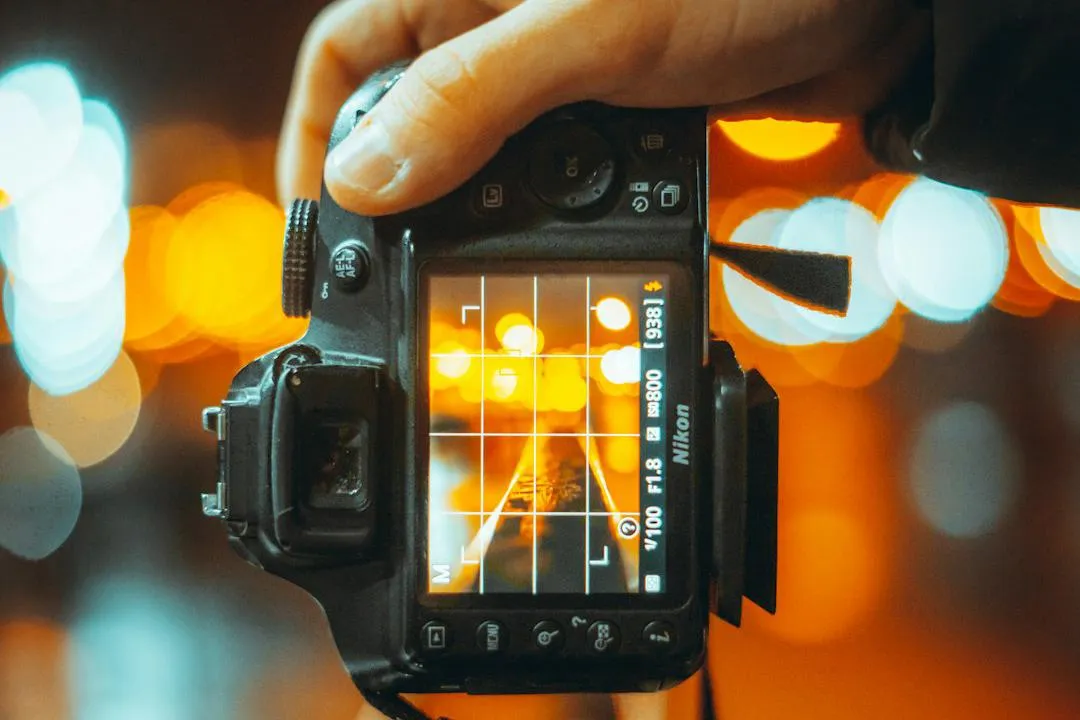
Manual Mode (often marked with an "M") means you make the decisions. You set the aperture (depth of field), shutter speed (motion blur or freeze), and ISO (brightness/sensitivity to light). Sounds intimidating? It doesn’t have to be. Manual mode gives you full creative control over your images.
✔️ When Manual Mode Shines:
You want to control background blur (like creamy bokeh!)
You’re shooting in tricky lighting situations (sunsets, indoors, backlit scenes)
You want to capture motion (either freeze it or let it blur)
You’re learning photography and want to grow beyond snapshots
❌ What to Watch Out For:
There’s a learning curve—mistakes happen, and that’s okay!
You might miss a quick moment if you’re adjusting settings
It takes some time and patience to get familiar with exposure settings
But once you get the hang of it? Manual mode becomes your creative playground.
A Side-by-Side Snapshot:

So… Which One Should You Use?
Use Auto Mode When:
You’re brand new and just want to get shooting
You’re in bright, consistent lighting
You’re capturing something fast and don’t want to miss it
You don’t feel confident adjusting your settings yet
Use Manual Mode When:
You’re ready to experiment and grow your skills
You want consistent, professional-looking results
You’re in lighting that’s messing with Auto
You’re learning about exposure and want to practice
A Happy Medium: Try “Semi-Manual” Modes!
If full Manual still feels like too much, dip your toes in with these beginner-friendly modes:
Aperture Priority (A or Av): You choose the aperture; the camera handles the rest. Great for portraits and blurry backgrounds.
Shutter Priority (S or Tv): You set the shutter speed; the camera picks aperture. Awesome for action shots or low light.
Program Mode (P): The camera helps, but you get more say than Auto.
These modes let you ease into Manual without diving into the deep end right away.
Final Thoughts: It’s Not a Contest
Here’s your permission slip: there’s no shame in using Auto mode—especially when you’re learning. Photography is a skill, not a race, and every great photographer started where you are. But also know this: the more you experiment with Manual, the more you’ll unlock the ability to tell your story exactly the way you see it. And that’s where the magic happens. So next time you have a quiet afternoon or a walk with your camera, switch over to “M” and play. Try overexposing a little. Try freezing motion. Let it be messy. Let it be fun. Your creative confidence is just a few clicks away.
Want a free cheat sheet to help with pro-level settings?
Grab my Shoot Like a Pro cheat sheet (if you haven't already) to keep in your bag or save to your phone—so you never feel lost when it’s time to adjust your exposure.
